
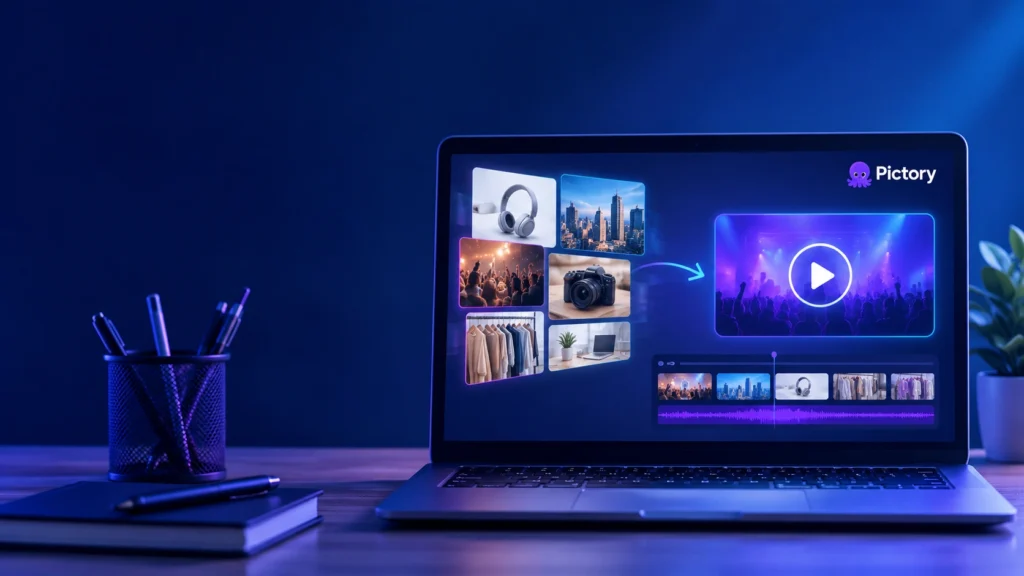
💡 Introduction: The Power of Static Images
You have product photos, screenshots, team pictures, and marketing visuals sitting in folders. They are useful on their own, but they could be more. Much more.
Videos get significantly more engagement than static images, and studies show that video can increase engagement rates by up to 120% compared to static posts . But hiring a video editor, learning complex editing software, or setting up a full production shoot is often impractical for content creators and marketers who need to move fast.
That is where Pictory’s Image to Video workflow comes in. It solves a specific problem: taking the images you already have and turning them into videos you can actually publish .
This feature is particularly useful if you:
- Have an existing image library (product photos, screenshots, marketing visuals, event images)
- Create content for platforms like Instagram Reels, TikTok, or YouTube Shorts where video is prioritized
- Want to create slideshows, product showcases, or recap videos quickly without learning editing software
- Need to repurpose old visual assets into new content formats
📋 What You Can Create with Images to Video
Product showcases – Turn product photos into short videos for social media or landing pages .
Social media reels – Use images and text to create vertical videos for Instagram, TikTok, or LinkedIn .
Event highlights – Turn event photos into a recap video you can share after a conference or webinar .
Educational content – Combine screenshots, diagrams, and text overlays into explainer videos .
Brand narratives – Build visual storytelling videos from brand images, marketing assets, and on-brand visuals .
📋 What You Need Before You Start
- A Pictory account (free trial available)
- Your images – standard formats like JPG, PNG, and BMP are supported
- Optional: a Brand Kit with logo, fonts, and colors (recommended for consistency)
🎬 Step-by-Step: Create a Video from Images
Step 1: Access the Images to Video Tool
From your Pictory Home Page, select “Images to Video” (or “Visuals to Video”). This is the tool specifically designed for creating videos from still images .
Upload your images by either dragging and dropping them into the upload area or clicking Browse to choose from your computer. You can upload both images and short video clips if you want to mix formats .
Step 2: Arrange Your Image Order
Your uploaded files will appear as thumbnails in the upload panel. You can:
- Drag and drop images to change their order
- Adjust the default duration per scene (5 seconds is the default)
- Remove unwanted files
Use the Estimated Video Duration indicator in the top corner to track the total length of your video .
Step 3: Generate the Video
Once you have arranged your images, click Generate Video. Pictory will:
- Create a storyboard with each image as a separate scene
- Add automatic transitions between scenes
- Prepare the video for customization
A progress screen will appear showing the creation process. When it is ready, you will enter the AI Video Editor .
Step 4: Review and Edit Your Storyboard
Each image is now displayed as a scene in your video storyboard. From here you can:
- Add or edit text captions in the Story Tab – keep captions short and readable
- Replace visuals or add more images in the Visuals Tab
- Insert music or AI voiceovers in the Audio Tab
- Apply text overlays, shapes, or icons using the Text and Elements Tabs
- Use your Brand Kit for consistent colors, fonts, and logos
Step 5: Adjust Scene Duration and Transitions
Shorter scene durations work best for fast-paced social media videos, while longer durations are ideal for slideshows or explainers . In the Bottom Timeline you can:
- Change how long each image stays on screen
- Adjust transition styles between scenes
- Reorder scenes for better flow
Step 6: Customize Styles and Themes
In the Styles Tab, choose a look that matches your content. Popular styles include Sleek, Clean, Indigo Ink, Navy Blue, and Bold Edge. Each theme applies coordinated text styles, fonts, and colors automatically .
Step 7: Add Branding
Open the Branding Tab to apply your Brand Kit:
- Add your logo
- Apply your brand colors
- Use your preferred fonts
Your brand kit ensures that every video you create matches your visual identity perfectly .
Step 8: Preview and Export Your Video
When your video is ready, click Preview Video to view it in full. Once satisfied, click Download Video to export it in your preferred format and resolution. Your finished video will also be saved under My Projects, allowing you to return and make edits later .
💡 Pro Tips for Better Results
1. Use High-Resolution Images
Upload clear, high-resolution images for the best visual quality. Low-quality images will look blurry in the final video .
2. Keep Captions Short
When adding text overlays, keep captions short and easy to read. Aim for a few words per line .
3. Add Background Music
Music sets the tone. Choose background music that matches the mood of your images – upbeat for product promos, more subtle for professional presentations .
4. Apply Your Brand Kit
Using your Brand Kit ensures every video is consistent with your other content. This is critical for teams producing video at scale across multiple authors and business units .
5. Preview the Entire Video
Always watch your video from start to finish before exporting. This helps you catch timing issues or awkward transitions .
6. Duplicate for Different Platforms
Create the 16:9 version first, then duplicate the project and switch to 9:16 for social media without rebuilding from scratch .
🎯 The Bottom Line
The Images to Video feature in Pictory is one of the fastest ways to turn image collections into professional, ready-to-share videos . It handles the technical work – arranging scenes, adding transitions, suggesting captions – so you can focus on the creative side.
The best use cases for this feature:
- Product showcases – show off multiple products in one short video
- Event recaps – turn event photos into a shareable highlights video
- Social media content – create vertical videos for TikTok, Reels, and Shorts
- Educational content – combine screenshots and diagrams into explainer videos
- Brand storytelling – build videos from marketing assets and brand images
Who this is for:
- Marketers creating short product promos or social posts
- Photographers showcasing portfolios or event highlights
- Educators summarizing lessons with images and text
- Brands turning visuals into video content for social platforms
- Enterprise teams repurposing large image libraries
The key is to start with your best images, keep the video between 30-60 seconds, and publish consistently. The first few videos might take 15-20 minutes. Once you have a workflow, you can do it in under 5.
Ready to bring your images to life?
Start turning your photos into videos:
👉 Try Pictory for Free
AI Shortcut LAB – Your Shortcut to the Best AI Tools.